Should all cyclists get a bike fit?
Alex heads down to the Pinarello store in London to find out if a bike fit really could benefit everyone
Alex Hunt
Junior Tech Writer
With no two bike models quite the same, getting a bike to fit you isn't always as simple as swapping the saddle and stem. For a position that you are potentially going to hold for hundreds of hours, a bike fit could be a very good investment.
Bikes are designed so that each size can accommodate a fairly large spread of riders. Unfortunately, each rider will have different needs, based on flexibility, intended duration and other factors, so getting a frame that fits you is only half the battle.
But do you need a bike fit? We visited the Pinarello store in London to hear from Jake Yarrington from Precise Performance. We wanted to hear how a bike fit works and what the benefits are, and to see what Jake thought of Alex's homemade bike position. Ultimately, we wanted to know, should every cyclist get a bike fit?
What happens during a bike fit?
The first step in getting a bike fit is to work out what your personal needs are. This covers things such as goals, how long you plan to ride at a time, and personal targets, however, it also includes a physical assessment too.
©GCN
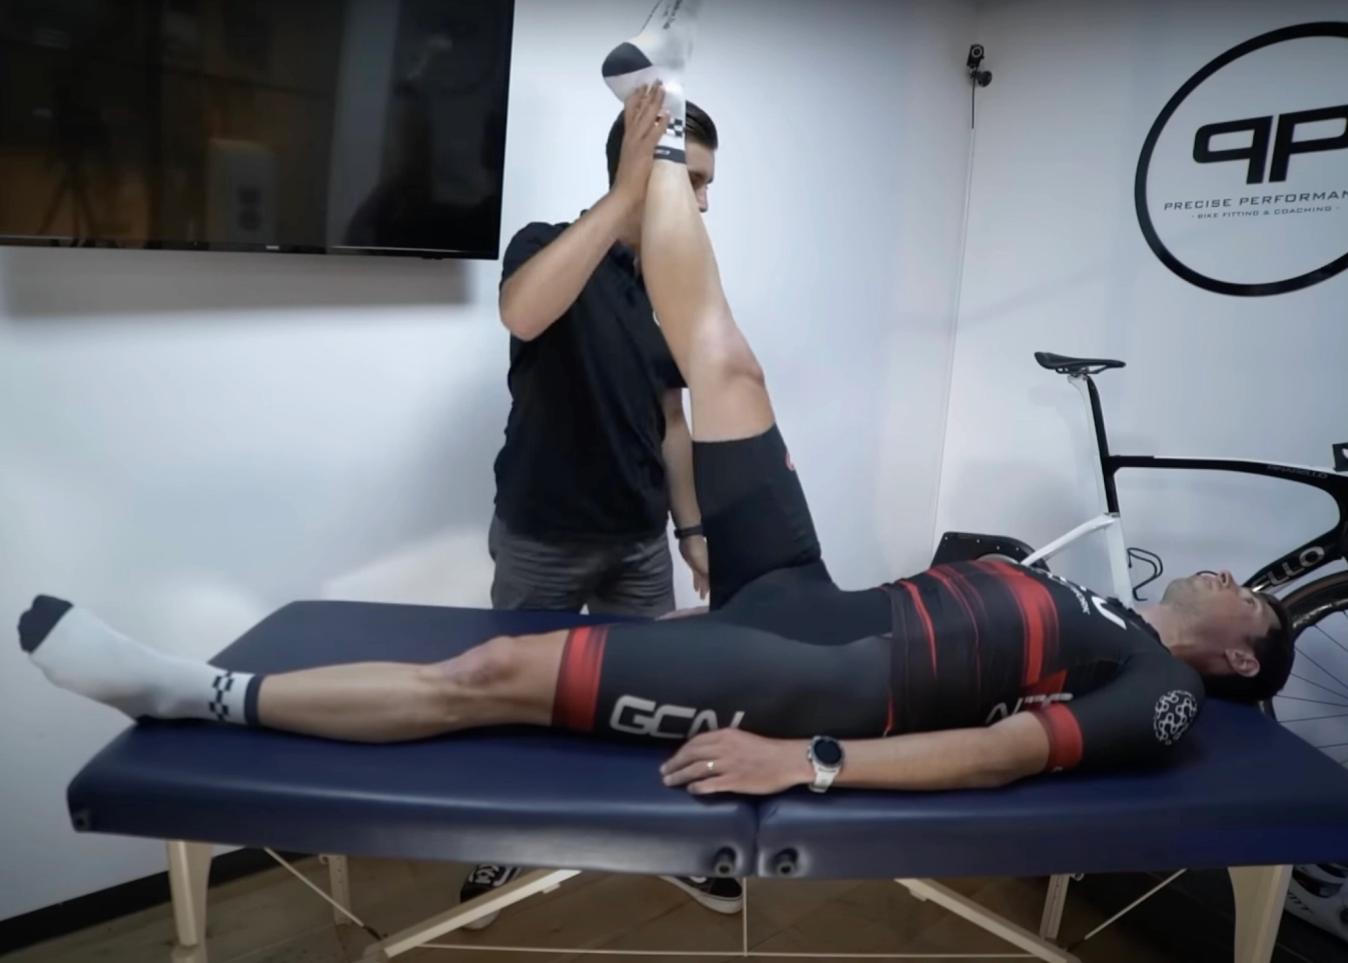
An assessment of your body is the first step in getting the bike to fit to you.
Before even getting started on the bike, an assessment of any imbalances between left and right as well as posterior and anterior needs to be carried out. When this is partnered with a mobility and strength assessment, it gives a strong understanding of what needs to be corrected or nurtured during the actual fitting process.
Jake Yarrington of Precise Performance makes it clear that “the bike has to fit the rider, not the rider fitting the bike.”
Foot Position
As you might expect from a sport that is leg-focused with a fixed foot placement, foot position is one of the most important areas to get dialled in your bike fit. Getting this right fit will allow you to pedal in a biomechanically efficient way that could see an increase in power and a reduction in fatigue, as well as greatly reducing the risk of injury.
Setting your cleat so the ball of your foot is inline with or just in front of your pedal axle will set your shoes in a strong and efficient position as well as promoting good pedalling dynamics by restricting the ability to point your toes through the bottom of the stroke.
©GCN
An assessment of your body is the first step in getting the bike to fit to you.
Cleat position should be natural to how your body wants to work. As riding clipless pedals will retain your foot in a fairly fixed position, getting that set up in a way that doesn't introduce any stress on the ankle, knee or hip is imperative.
A good indication of how you should be setting up your cleat angle is to sit on the edge of a table and let your legs hang relaxed. The way your foot naturally wants to rest is what you are looking to mimic with your cleat position.

©GCN
Making sure your cleats are set up so that your heal stays clear of the cranks is important not just aesthetically
As far as cleat offset is concerned, you should make sure that your foot is spaced out from the crank arm sufficiently to not catch or rub it. If you ride with a very heel-in position, a longer-spindle pedal could be a good option.
Saddle Position
Setting your saddle position correctly can be the difference between an enjoyable riding position and one that creates soreness and premature fatigue. It's not only important to set your saddle height correctly, but also to look at the saddle position on the rails and the actual saddle you use.
Some telltale signs of incorrect saddle position are:
- Rocking of the hips. If when pedalling you find that you cannot stabilise your hips with your core and instead they are always dipping down as you extend your leg, this is a clear indication that your saddle is set too high.
- Pointing of the toes. This is done in a similar vein to rocking your hips. If you need to over-extend to complete a pedal revolution you might be compensating by pointing your toes through the bottom of the stroke. Videoing yourself riding on an indoor trainer is a great way to capture exactly what is going on through the pedal stroke.
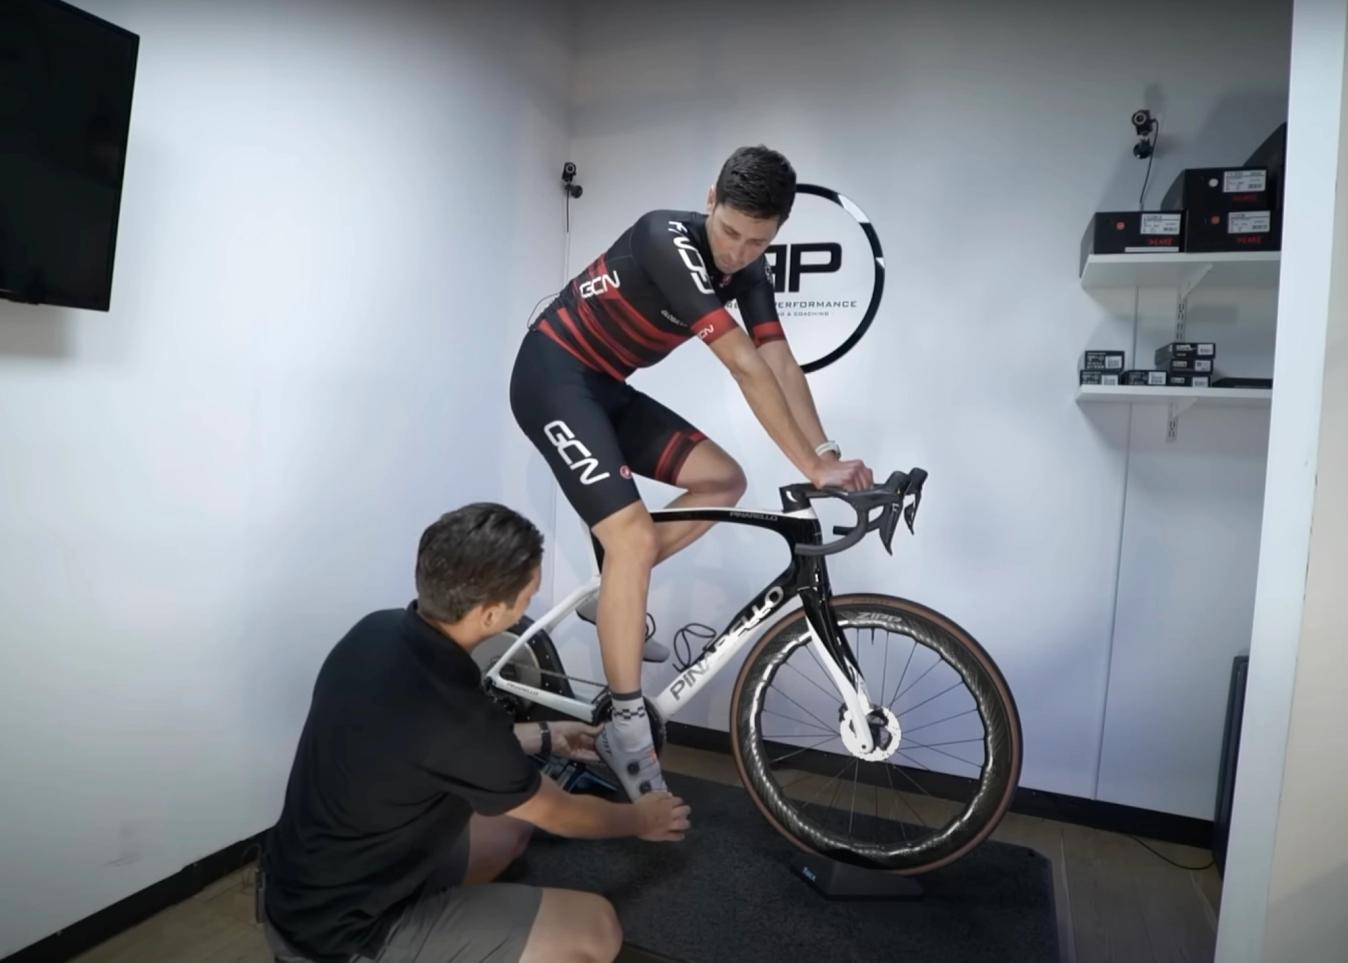
©GCN
Pointing your toes through the bottom of the stroke is a sign your saddle may be too high.
When looking at your saddle position on the rails we are looking to position ourselves in the most biomechanically effective position we can. If we sit too far back relative to the bottom bracket, it can put unnecessary strain on the hamstrings and the hips. Equally, if positioned too far forward, it can cause stress through the top of the knee and overuse of the quads.
When set up correctly, your knee should be roughly inline with the axle of the pedal while the pedal is in the three o’clock position. Finding this position will then dictate a few adjustments such as saddle profile and potentially an offset seat post if you have longer femurs.
Hand position
Once saddle height has been set, the next contact point to investigate is where you put your hands. The first thing to consider with any road bike fit when looking at handlebar setup is ensuring that all of the potential hand positions are achievable and comfortable. Setting up the position on the hoods but not being able to reach the drops is not what we are looking for.
A bike's reach is the distance from the bottom bracket to the centre of the head tube and is an integral measurement of a bike's frame. We can adjust the relative reach of the bike by changing the stem length.
©GCN
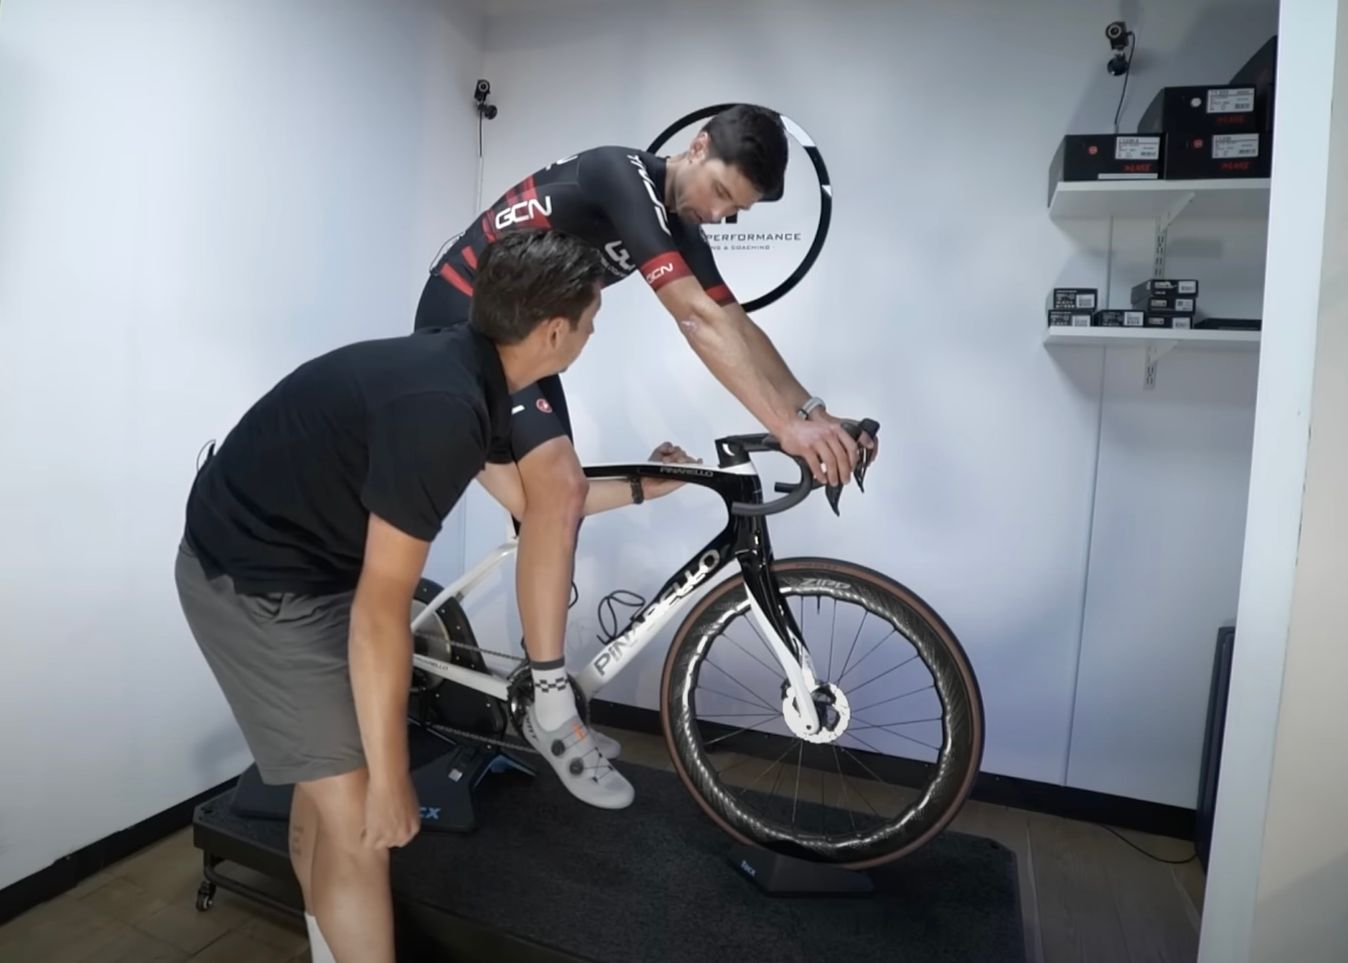
Resting your hands back on the bars could mean you need to adjust your reach.
It's common if the bars are too far out in front that you will naturally put your hands in a more comfortable position back on the bars. It's easy to spot if this is happening as the bar tape will wear away. Helping to correct this, reducing your stem length will allow the natural position you want to ride in to coincide with the correct position on the levers.
Equally, if you don’t feel like you can fully extend your arms and you are getting tense in your shoulders and upper back, it could be that you are compensating for a cramped cockpit and you need to increase your reach. The key with an optimum bike fit is that you are not trying to force your body into a position that is stressful.
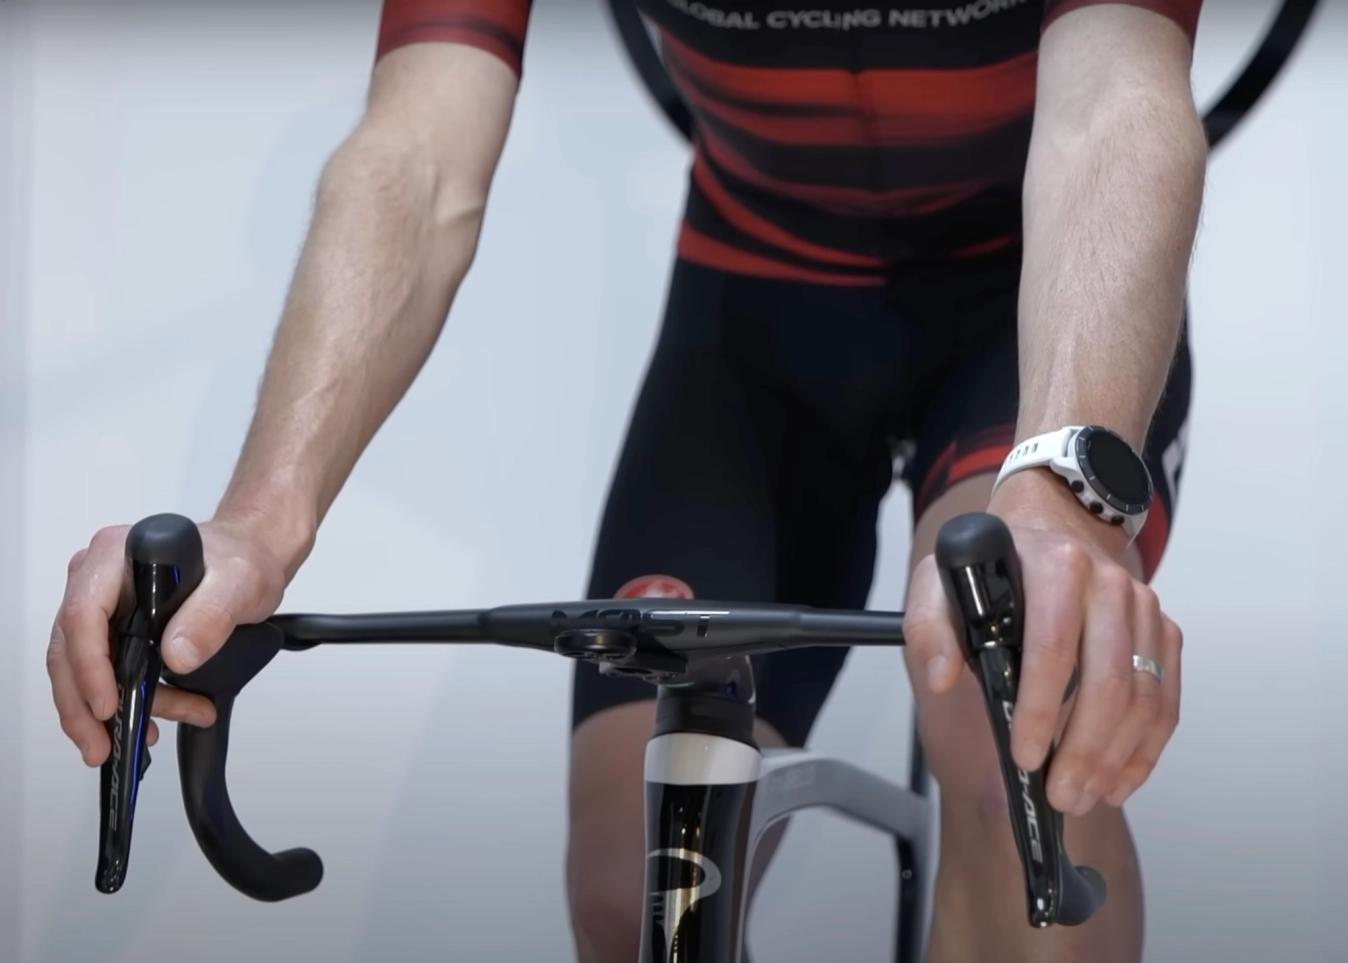
The final thing to consider with a handlebar setup is the width of the bars you are using. Although there has been an increasing trend to using narrower bars for the aero advantage they present, selecting the correct bar width for you is still dependent on the individual.

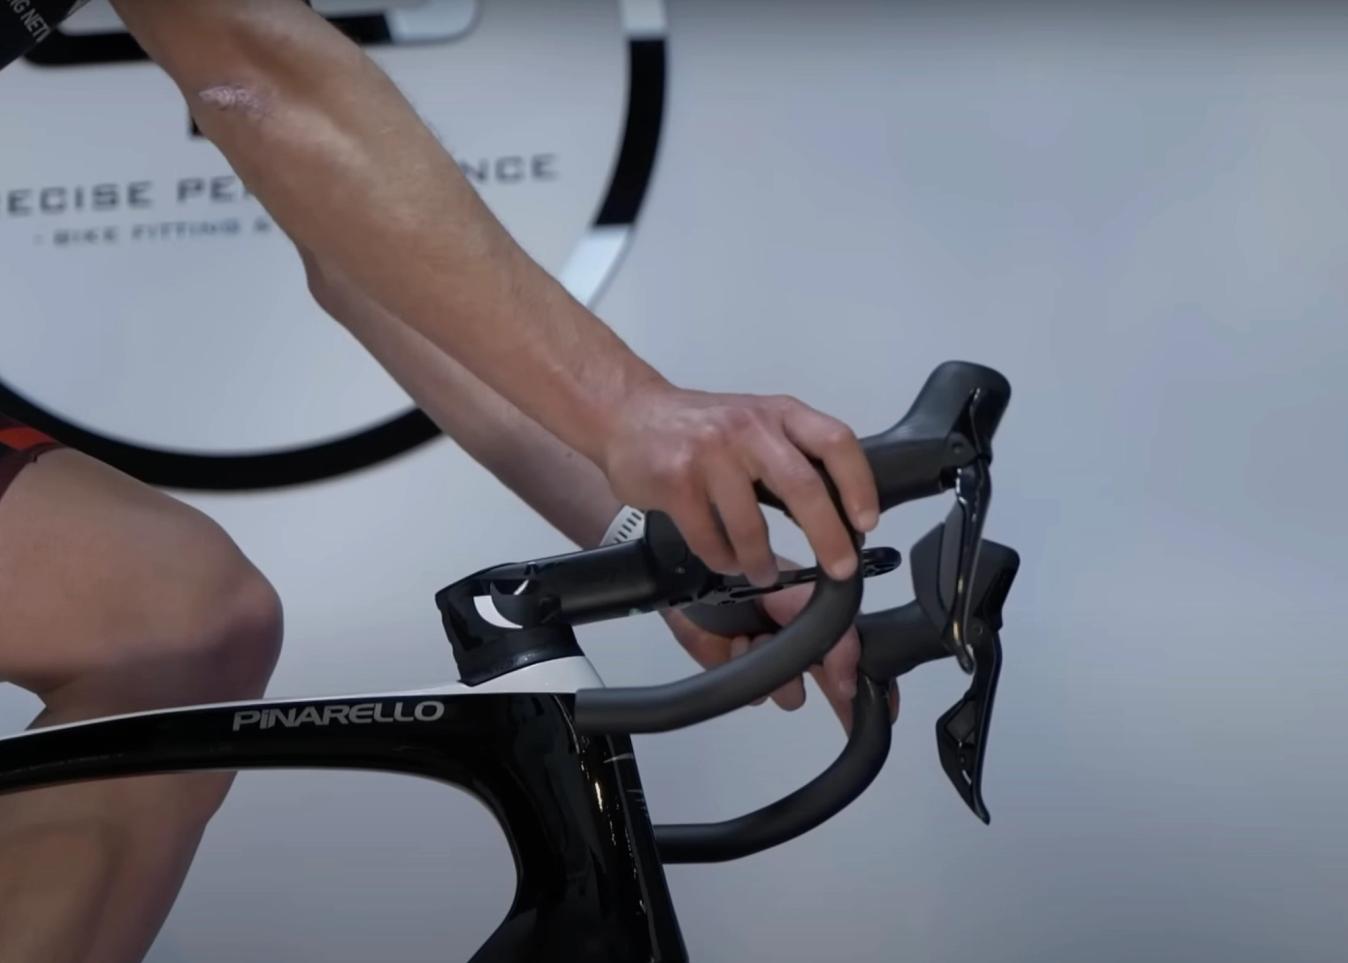
©GCN
Rolling your wrists is a clear tell that the handlebars are too wide for a comfortable position.
If you find that you rotate your wrists out to reach the levers, this not only puts undue stress on the wrist joints, but also indicates that your bars are too wide to be comfortable and swapping for a narrower bar could be more comfortable.
You should be aiming to get the bar and lever position set up in such a way that your hand should rest on the hood as if you are going to give a handshake. This way you are in a strong and neutral position that isn't going to cause any unwanted pressure points.
©GCN
A nice relaxed and neutral position is what we are aiming for.
So is getting a bike fit worth it?
A professional bike fit is a serious investment, especially when you factor in the potential of needing to buy new parts to get the position dialled.
For a lot of cyclists, we'll be able to get comfortable on the bike by performing our own bike fit at home – Alex's position on his Pinarello wasn't exactly how Jake would have done it, but it was safe and comfortable for him.
Typically, bike fits are there for people who are really struggling to get comfortable on a bike, no matter what they try, or for people logging big miles who want to make sure they're not doing themselves any damage.
Jake emphasises, though, that even riders who are doing no more than a commute can benefit from a bike fit. Do you need one? No. Could you benefit from one? Quite possibly. Ultimately, it's a personal decision.


Latest Videos


Related Content
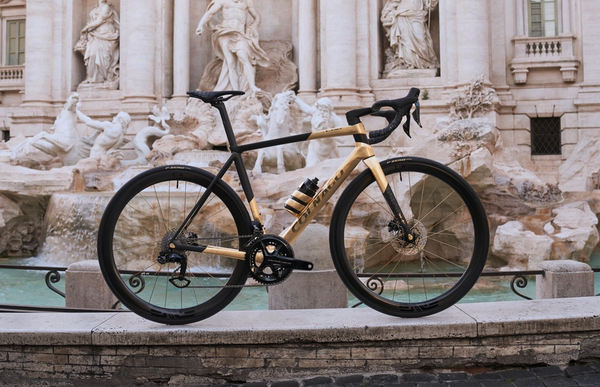
This one-of-a-kind gold leaf Colnago V4Rs ‘Gioiello’ is heading to auction
The bike was a test piece for the Gioiello collection that was ultimately created using the C68 frame

Giro d'Italia TT tech: Limar joins growing helmet trend with new bulbous Alien lid
The design of the wide time trial helmet leads to an energy saving of 10 watts over its predecessor, according to Limar
.jpg?w=600&auto=format)
Rudy Project officially unveils Wingdream helmet ready for Giro d’Italia time trial
It caused a stir when it was first spotted in the WorldTour peloton earlier in the year, but Rudy has now confirmed details for its time trial helmet, including what it claims are big performance gains
How much does bike technology really boost performance? - GCN Tech Show
Alex Paton and Ollie Bridgewood look at how the tech behind Van Rysel bikes might be driving more success in the pro peloton